
Here's a comprehensive, SEO-optimized blog post for you:
10 Creative DIY Projects with Preserved Moss
Transform your home with these stunning, low-maintenance preserved moss craft ideas
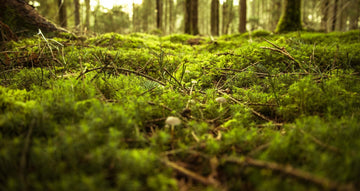
Preserved moss has become one of the most versatile and sought-after materials in modern home décor and crafting. Unlike living moss that requires constant care and moisture, preserved moss maintains its soft texture and vibrant color for years without any water or maintenance. Whether you're a seasoned crafter or a complete beginner, these 10 creative DIY projects will inspire you to bring the beauty of nature indoors.
What is Preserved Moss?
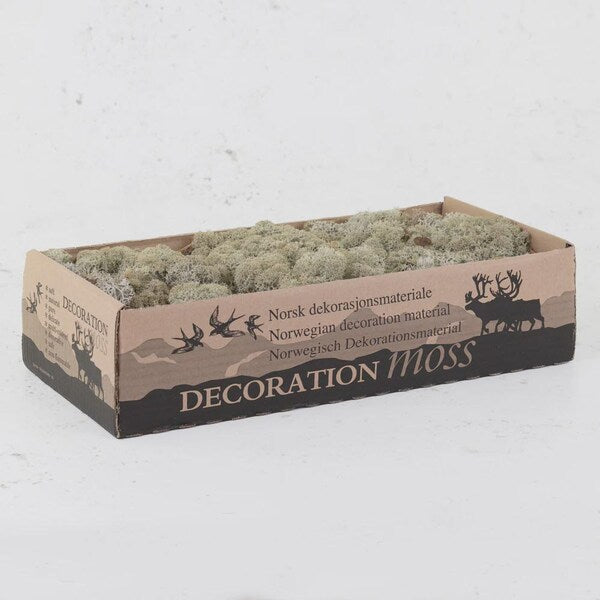
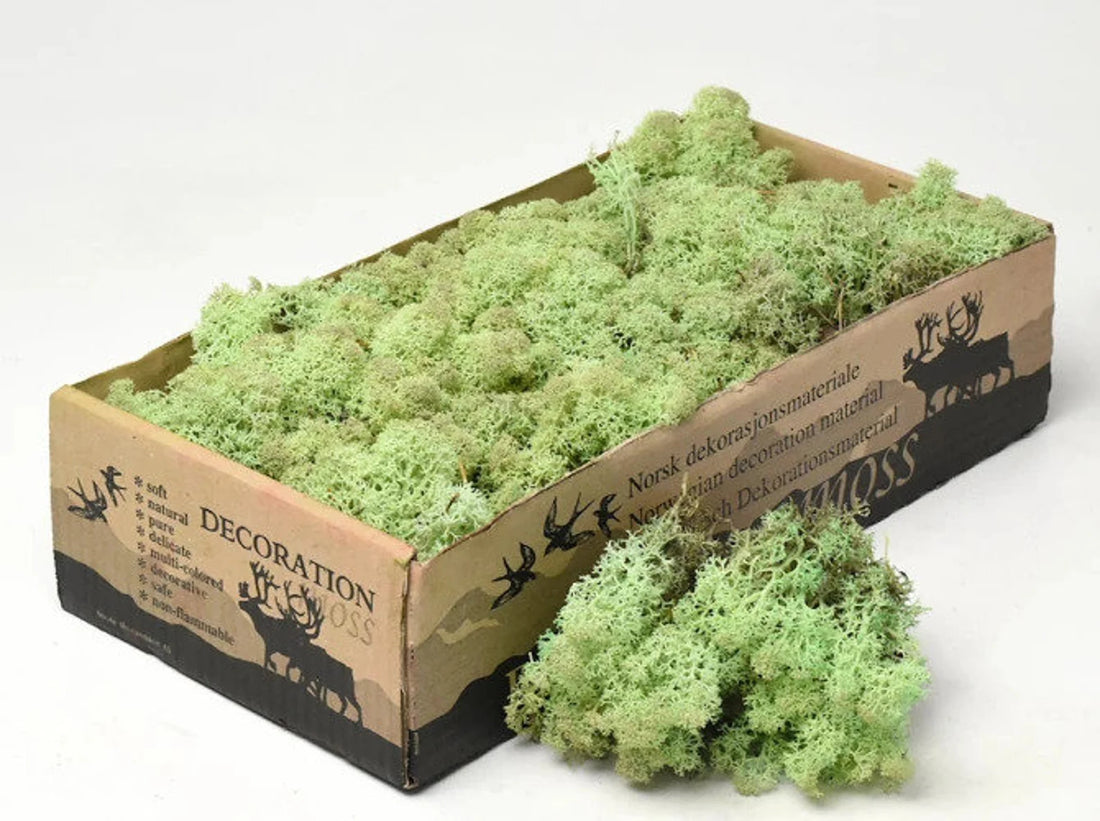
Before we dive into the projects, let's understand what makes preserved moss so special. Preserved moss (particularly preserved reindeer moss) is real, natural moss that has been carefully treated through an eco-friendly, non-toxic preservation process. This process replaces the moisture in the moss with a glycerin-based solution, keeping the moss soft, pliable, and beautifully colored for years without requiring water, sunlight, or any maintenance.
Benefits of Using Preserved Moss for DIY Projects:
- Lasts for years without water or care
- Stays soft and tactile
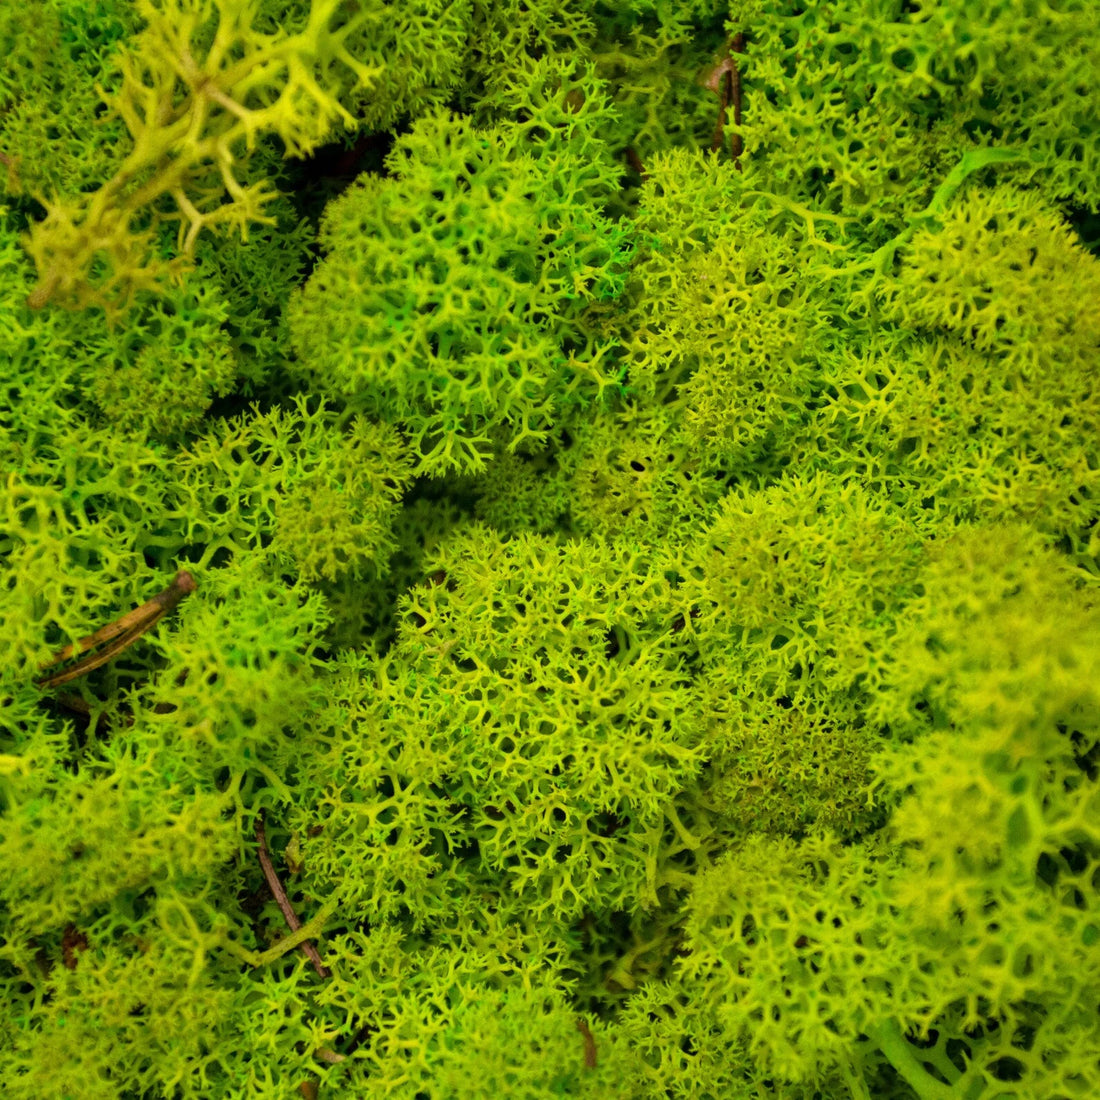
- Available in 30+ vibrant colors
- No mess, dirt, or soil required
- Won't attract bugs or mold
- Perfect for allergy sufferers (no pollen or spores)
- Eco-friendly and sustainable when sourced responsibly
Now, let's explore 10 creative ways to use preserved moss in your DIY projects!
1. Moss Wall Art & Living Wall Panels
Difficulty: Intermediate | Time: 2-4 hours | Cost: ££
Create stunning botanical wall art that brings nature indoors without any maintenance. Moss wall art has become incredibly popular in both homes and commercial spaces, offering a unique, textural focal point.
What You'll Need:
- Shadow box frame or wooden picture frame (any size)
- Preserved reindeer moss in various colors
- Hot glue gun and glue sticks
- Backing board (if not included with frame)
- Optional: small branches, dried flowers, or decorative elements
Step-by-Step Instructions:
- Prepare your frame: Remove the glass from your frame. You'll only need the frame itself and the backing board.
- Plan your design: Lay out your moss colors on the backing board without gluing to visualize your design. Consider creating an ombré effect with different shades of green, or try a bold contrast with grey and spring green moss.
- Start gluing: Working in small sections, apply hot glue to the backing board and press moss firmly into place. Fill in all gaps for a lush, full appearance.
- Add dimension: Layer different moss colors and textures for depth. You can create hills and valleys for a natural, organic look.
- Optional embellishments: Add small twigs, preserved flowers, or other natural elements for extra interest.
- Secure in frame: Once dry, place your moss-covered backing board into the frame and secure.
- Display: Hang your moss wall art away from direct sunlight to prevent color fading. No watering required!
Design Ideas:
- Monogram or initial in moss surrounded by a complementary color
- Geometric patterns with contrasting moss colors
- Ombré gradient from dark to light green
- Heart shape for Valentine's Day or weddings
- Abstract organic shapes for modern interiors
Pro Tip: Mix preserved reindeer moss with flat sheet moss (Platmos) for varied textures and visual interest.
2. Moss-Covered Letters & Monograms
Difficulty: Beginner | Time: 1-2 hours | Cost: £
Moss-covered letters are perfect for weddings, nurseries, home décor, and gift-giving. They add a natural, organic touch to any space and can be customized with any letter, word, or phrase.
What You'll Need:
- Cardboard or wooden letters (available at craft stores)
- Preserved reindeer moss in your chosen color
- Hot glue gun and glue sticks
- Scissors or craft knife
Step-by-Step Instructions:
- Choose your letters: Select cardboard or wooden letters in your desired size. Larger letters (20cm+) make a bigger impact, while smaller letters work well for grouped displays.
- Prepare the moss: Break your preserved moss into small, manageable pieces. Smaller pieces are easier to work with and create a more uniform coverage.
- Apply glue and moss: Working in small sections, apply hot glue to the letter surface and immediately press moss pieces firmly into the glue. Overlap slightly to avoid gaps.
- Cover edges: Don't forget the sides! Wrap moss around edges for a polished, three-dimensional appearance.
- Fill gaps: Once the entire letter is covered, go back and fill any visible gaps with small moss pieces.
- Trim if needed: Use scissors to carefully trim any unruly moss pieces for a neat finish.
Display Ideas:
- Single initial on a nursery shelf
- "HOME" or "LOVE" on a mantelpiece
- Couple's initials for wedding décor
- Child's name above their bed
- Seasonal words like "SPRING" or "NOEL"
Color Suggestions:
- Spring Green: Fresh, vibrant look perfect for nurseries
- Old Green or Dark Green: Sophisticated, natural aesthetic
- Grey: Modern, minimalist style
- Mix colors: Create ombré or rainbow effects
3. Preserved Moss Terrarium
Difficulty: Beginner | Time: 30 minutes - 1 hour | Cost: ££
Moss terrariums offer all the beauty of traditional terrariums without the maintenance. These glass-encased botanical displays are perfect for desks, coffee tables, or windowsills.
What You'll Need:
- Glass container with or without lid (our corked lid vases work perfectly!)
- Preserved reindeer moss in various colors
- Decorative stones, pebbles, or sand
- Optional: small decorative elements (miniature toadstools, figurines, driftwood)
Step-by-Step Instructions:
- Choose your vessel: Select a clear glass container. Our 26cm corked lid vases are ideal, but any glass jar, bowl, or terrarium vessel works.
- Create the base layer: Add 2-3cm of decorative pebbles, sand, or small stones to the bottom. This creates visual interest and elevates the moss.
- Add moss landscapes: Place generous amounts of preserved moss, creating natural hills, valleys, and organic shapes. Don't pack it too tightly—allow for natural, flowing forms.
- Layer colors: Use 2-3 different moss colors for depth and visual interest. Try pairing Spring Green with Old Green, or create drama with Grey and Mint Green.
- Add decorative elements: Tuck in small branches, pinecones, crystals, miniature animals, or other decorative touches that complement your aesthetic.
- Seal or leave open: If using a lidded container, you can seal it to keep dust out, or leave it open for easy rearranging.
Design Themes:
- Woodland Scene: Use dark green and old green moss with small twigs and miniature toadstools
- Modern Minimalist: Single color moss (grey or mint) with white sand and one small succulent or air plant
- Fairy Garden: Bright spring green moss with miniature fairy figurines and tiny decorative accessories
- Zen Garden: Grey moss with smooth pebbles and a small piece of driftwood
- Seasonal Display: Change decorative elements seasonally while keeping the moss base year-round
Pro Tip: Preserved moss terrariums require zero maintenance, making them perfect for offices, bathrooms, or anywhere you want greenery without the commitment of plant care.
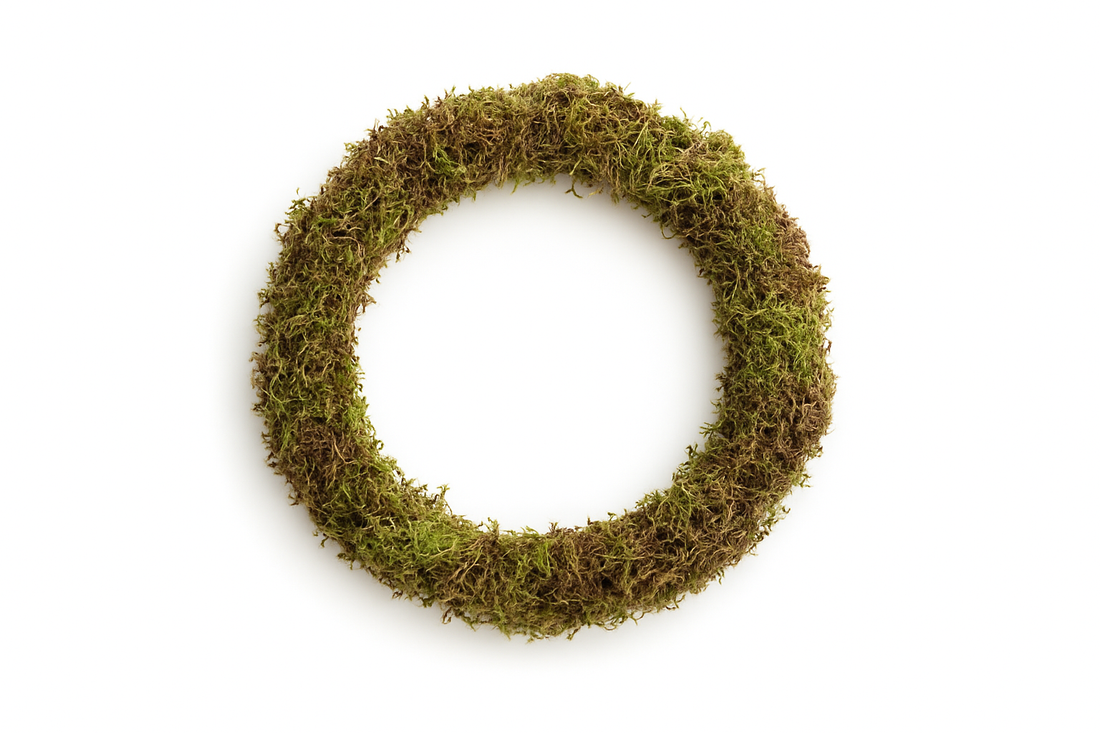
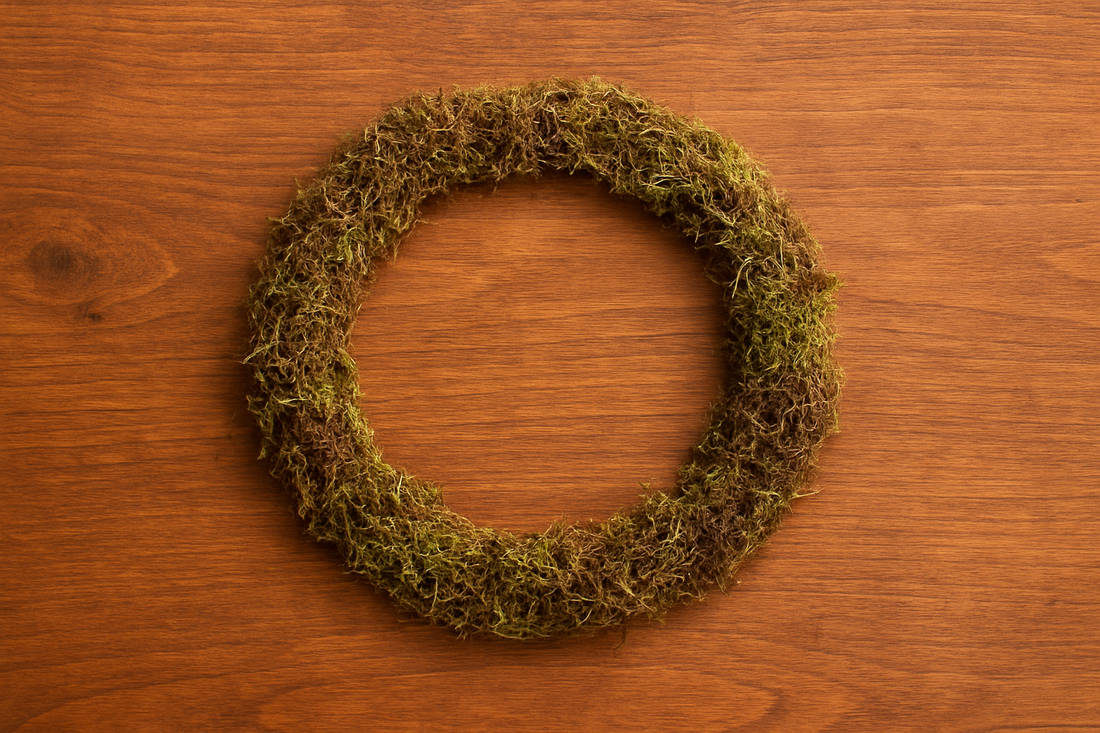
4. Moss Wreath Base Enhancement
Difficulty: Beginner | Time: 30 minutes - 1 hour | Cost: £
Elevate a simple fresh moss wreath base or plain wreath form with colorful preserved reindeer moss for a unique, long-lasting seasonal decoration.
What You'll Need:
- Fresh moss wreath base or grapevine/foam wreath form
- Preserved reindeer moss in complementary colors
- Hot glue gun or floristry pins
- Ribbon for hanging
- Optional: preserved flowers, berries, pinecones, or seasonal decorations
Step-by-Step Instructions:
- Prepare your base: If using our fresh moss wreath base, you can add preserved moss accents directly. If using a plain form, cover it entirely with preserved moss first.
- Add texture and color: Use preserved reindeer moss to create pops of color and varied texture. Tuck bright spring green moss among dark green bases, or add grey moss for a sophisticated, neutral palette.
- Secure with glue or pins: Use hot glue for permanent attachment, or floristry pins if you want to change your design seasonally.
- Build your design: Add preserved flowers, dried elements, ribbon, or seasonal decorations around the moss-enhanced wreath.
- Create focal points: Cluster preserved moss in specific areas (top, bottom, or asymmetrical placement) rather than distributing evenly for more visual interest.
Seasonal Wreath Ideas:
- Spring: Fresh moss base with spring green preserved moss accents, pastel ribbon, and artificial flowers
- Summer: Vibrant grass green moss with dried lavender and bright ribbon
- Autumn: Old green and brown-toned moss with pinecones, acorns, and warm-colored ribbons
- Christmas: Dark green fresh base with spring green preserved moss accents, red berries, and festive ribbon
- Winter: Grey and white moss with frosted pinecones and silver accents
5. Moss-Covered Plant Pots & Planters
Difficulty: Easy | Time: 30 minutes - 1 hour | Cost: £
Transform plain terracotta pots or plastic planters into beautiful, natural vessels with a preserved moss covering. This project works for both real plants and faux plant displays.
What You'll Need:
- Terracotta pots, plastic planters, or any plain container
- Preserved reindeer moss
- Hot glue gun and glue sticks
- Twine or ribbon (optional, for rustic touch)
Step-by-Step Instructions:
- Clean your pot: Ensure the pot is clean and dry. Terracotta works particularly well as the porous surface provides good adhesion.
- Apply glue in sections: Work in small sections around the pot, applying hot glue and immediately pressing moss firmly into place.
- Cover completely: Continue around the entire exterior of the pot, including the rim if desired. Overlap moss slightly to avoid gaps.
- Secure the bottom edge: Pay special attention to the bottom edge where the pot meets the surface—this area is most visible.
- Optional embellishment: Wrap twine or burlap ribbon around the center or rim for added rustic charm.
- Plant or display: Use with real plants (the moss won't be affected by occasional water splashes), faux plants, or even as decorative storage containers.
Uses for Moss-Covered Pots:
- Herb gardens on kitchen windowsills
- Succulent and cacti displays
- Orchid planters (moss adds textural contrast)
- Bathroom storage (cotton balls, soaps, toiletries)
- Desk organizers (pens, pencils, office supplies)
- Wedding and event centerpieces
- Gift plant presentations
Color Combinations:
- Match moss color to your interior palette
- Use grey moss for modern, minimalist spaces
- Choose spring green for fresh, vibrant displays
- Try old green for traditional, natural aesthetics
6. Moss Table Runner or Centerpiece Base
Difficulty: Intermediate | Time: 1-3 hours | Cost: ££-£££
Create a stunning, textural table runner using preserved moss for weddings, dinner parties, or permanent dining table décor. This project makes a bold statement and can be customized to any length.
What You'll Need:
- Wooden board, cork board, or sturdy cardboard as base (length depends on your table)
- Preserved reindeer moss in various shades
- Hot glue gun and substantial glue supply
- Optional: candle holders, small vases, decorative elements
Step-by-Step Instructions:
- Measure your table: Cut your base material to the desired length and width. A runner is typically 30-40cm wide and runs most of the table length.
- Plan your moss layout: Before gluing, lay out different moss colors to create your desired pattern. Consider ombré effects, color blocking, or natural organic blending.
- Glue moss to base: Working in sections, apply generous hot glue and press moss firmly. Build up layers for a lush, three-dimensional appearance.
- Create texture: Vary the height and density of moss for visual interest. Some areas can be more sparse, others more dense and raised.
- Add embellishments: Once moss is secure, add candle holders, small glass vases with fresh flowers, or other decorative elements.
- Protect your table: Place felt pads on the underside of your runner to protect table surfaces.
Event & Occasion Ideas:
- Wedding Reception: Create a romantic, natural centerpiece down long banquet tables
- Christmas Dinner: Add pinecones, candles, and seasonal elements to moss runner
- Easter Brunch: Use spring green moss with pastel decorations and small nest accents
- Everyday Elegance: Keep it simple with neutral moss colors and changing seasonal accents
Pro Tip: For a more temporary option, use floral foam as your base instead of wood. This allows you to easily dispose of or reshape the runner after your event.
7. Moss-Filled Glass Ornaments & Baubles
Difficulty: Easy | Time: 15-30 minutes | Cost: £
Create beautiful, lightweight ornaments for Christmas trees, window displays, or year-round hanging décor using preserved moss inside clear glass or plastic baubles.
What You'll Need:
- Clear glass or plastic fillable ornaments (available at craft stores)
- Preserved reindeer moss in various colors
- Ribbon for hanging
- Optional: small decorative elements (miniature pinecones, beads, glitter)
Step-by-Step Instructions:
- Open your ornament: Remove the top cap from your fillable ornament.
- Choose your moss: Select one color for a clean, minimalist look, or mix 2-3 colors for more interest.
- Fill strategically: Don't overstuff! Use just enough moss to create a light, airy appearance. The moss should look naturally placed, not compressed.
- Add extras (optional): Drop in tiny pinecones, a few beads, or a light dusting of biodegradable glitter for sparkle.
- Replace the cap: Secure the top back on the ornament.
- Add ribbon: Thread ribbon through the cap hook for hanging.
Design Variations:
- Monochromatic: Single moss color (elegant grey or vibrant spring green)
- Ombré Set: Create multiple ornaments progressing from light to dark green
- Natural Christmas: Dark green moss with tiny real pinecones
- Modern Minimalist: Grey moss with white ribbon
- Colorful Collection: Each ornament a different moss color for a rainbow tree effect
Beyond Christmas:
- Hang in windows year-round as nature-inspired sun catchers
- Create a mobile for nurseries or children's rooms
- Display in glass bowls or apothecary jars
- Use as natural gift toppers or party favors
- Attach to wrapped packages instead of traditional bows
8. Moss Picture Frame Embellishment
Difficulty: Easy | Time: 30 minutes - 1 hour | Cost: £
Add natural charm to plain picture frames by decorating the edges with preserved moss. This project is perfect for wedding photos, family portraits, or nature photography.
What You'll Need:
- Plain wooden or plastic picture frame
- Preserved reindeer moss
- Hot glue gun and glue sticks
- Optional: small dried flowers, twigs, or decorative elements
Step-by-Step Instructions:
- Remove glass and backing: Take apart your frame to work on just the frame itself.
- Decide on coverage: You can cover the entire frame or just accent corners and edges.
- Apply moss: Using hot glue, attach moss to desired areas. For full coverage, work methodically around the frame. For corner accents, create small moss clusters at each corner.
- Add dimension: Build up layers of moss for a three-dimensional, organic appearance.
- Embellish: Tuck in small dried flowers, tiny twigs, or other natural elements among the moss.
- Reassemble: Once completely dry, put your photo and glass back into the frame.
Frame Ideas by Photo Type:
- Wedding Photos: Romantic spring green or mint moss with delicate dried flowers
- Nature Photography: Dark or old green moss to complement outdoor scenes
- Baby Photos: Soft spring green or mint moss for a gentle, natural look
- Family Portraits: Grey or medium green for sophisticated, neutral framing
- Botanical Prints: Any moss color creates a cohesive, nature-themed display
Design Approaches:
- Full Coverage: Cover entire frame for maximum impact
- Corner Clusters: Moss only at corners for subtle accent
- Asymmetrical: Heavy moss on one or two sides for modern look
- Wreath Effect: Moss around entire frame perimeter like a wreath
9. Moss Kokedama (Japanese Moss Balls)
Difficulty: Intermediate | Time: 1-2 hours | Cost: ££
Create a modern twist on traditional Japanese kokedama by using preserved moss instead of living moss. These hanging moss balls can hold faux plants or serve as purely decorative spheres.
What You'll Need:
- Styrofoam or floral foam balls (various sizes)
- Preserved reindeer moss (generous amount)
- Hot glue gun and glue sticks
- Twine, fishing line, or decorative cord for hanging
- Optional: small faux plants or air plants
Step-by-Step Instructions:
- Prepare foam ball: If adding a faux plant, create a small hole in the top of the foam ball and insert the plant stem with glue.
- Plan your moss coverage: Break moss into small pieces for easier application. You'll need enough to completely cover the ball.
- Apply moss: Working in sections, apply hot glue to the foam ball and press moss firmly into place. Overlap pieces slightly to ensure no foam shows through.
- Create smooth coverage: Continue around the entire ball until fully covered. The result should look like a natural moss sphere.
- Add hanging mechanism: Tie twine or cord around the ball, crossing underneath and meeting at the top, or insert a wire through the ball and create a hanging loop.
- Display: Hang at varying heights for a dramatic display, or rest in decorative bowls.
Display Ideas:
- Hang multiple kokedama at different heights in a corner
- Create a window display with various sized moss balls
- Place in decorative bowls or on cake stands
- Hang outdoors on a covered porch (bring in during rain)
- Group with other botanical elements for a nature-inspired vignette
Variations:
- Single Color: Uniform moss color for clean, modern look
- Two-Tone: Half spring green, half old green for contrast
- Textured: Mix reindeer moss with flat sheet moss
- Embellished: Add small decorative elements like ribbon or dried flowers
10. Moss-Topped Gift Boxes & Decorative Storage
Difficulty: Easy | Time: 30 minutes - 1 hour | Cost: £
Transform ordinary gift boxes or storage containers into beautiful, nature-inspired pieces by covering the lids with preserved moss. Perfect for special gift presentations or organized storage that's too pretty to hide away.
What You'll Need:
- Plain boxes with lids (gift boxes, hat boxes, or storage boxes)
- Preserved reindeer moss
- Hot glue gun and glue sticks
- Optional: ribbon, dried flowers, or decorative labels
Step-by-Step Instructions:
- Prepare the lid: Clean the lid surface and ensure it's completely dry.
- Plan your design: Decide whether to cover the entire lid or create a moss accent area. Full coverage creates maximum impact; partial coverage is more subtle.
- Apply moss to lid: Using hot glue, attach moss to the lid surface. For full coverage, work from center outward. For partial coverage, create a specific design (circle, heart, initial, etc.).
- Create smooth coverage: Ensure moss is firmly attached with no gaps. Build up layers for a lush, three-dimensional look.
- Add embellishments (optional): Attach ribbon around the box edge, add a small dried flower cluster, or include a decorative label.
- Fill and display: Use for gift-giving or as beautiful storage for jewelry, photos, letters, or craft supplies.
Gift Box Ideas:
- Wedding Favors: Small boxes with moss lids for guest gifts
- Birthday Presents: Moss-topped box adds natural elegance to any gift
- Baby Shower: Soft spring green moss for sweet presentation
- Christmas Gifts: Dark green moss with small pinecone accent
- Mother's Day: Moss box filled with spa items or jewelry
Storage Solutions:
- Jewelry organization with moss-topped boxes on dresser
- Craft supply storage (buttons, ribbons, beads)
- Memory boxes for letters and photos
- Bathroom storage (cotton wool, bath salts)
- Desk organization for office supplies
Color & Style Matching:
- Grey moss: Modern, Scandinavian, minimalist interiors
- Spring green: Fresh, cheerful, cottage-style spaces
- Old or dark green: Traditional, rustic, natural aesthetics
- Mixed colors: Eclectic, bohemian, creative environments
Tips for Working with Preserved Moss
To ensure success with all these DIY projects, keep these helpful tips in mind:
Handling & Preparation
Break into smaller pieces: Preserved moss is easier to work with when broken into manageable chunks. This also helps create more natural-looking coverage.
Fluff before using: Gently pull apart compressed moss to restore its natural, fluffy texture before gluing.
Work in good lighting: Natural daylight or bright task lighting helps you see gaps and ensure even coverage.
Adhesive Application
Hot glue is best: Hot glue guns provide the strongest, quickest bond for preserved moss. Low-temperature glue guns work well and reduce burn risk.
Apply glue to surface, not moss: Put glue on your project surface (frame, pot, etc.) rather than directly on the moss for better coverage and control.
Work quickly: Hot glue sets fast, so apply small sections at a time and press moss immediately.
Alternative adhesives: For children's projects or if avoiding hot glue, strong craft glue (like Tacky Glue) works but requires longer drying time.
Color Selection
Mix shades for depth: Using 2-3 different shades of green creates more visual interest than a single color.
Consider your space: Match moss colors to your existing décor palette for cohesive design.
Test combinations: Lay out different moss colors together before gluing to ensure you like the combination.
Care & Longevity
Avoid direct sunlight: While preserved moss is stable, prolonged direct sunlight can cause colors to fade over time. Display in indirect light for best longevity.
Keep dry: Preserved moss should not get wet. Display away from humid areas or where water splashing might occur.
Dust gently: Use a soft brush or compressed air to remove dust accumulation. Avoid vacuuming, which can pull moss off projects.
Handle carefully: While durable, preserved moss can be pulled off if handled roughly. Treat finished projects gently.
Expected lifespan: With proper care, preserved moss projects maintain their beauty for 5-10 years or longer.
Project Planning
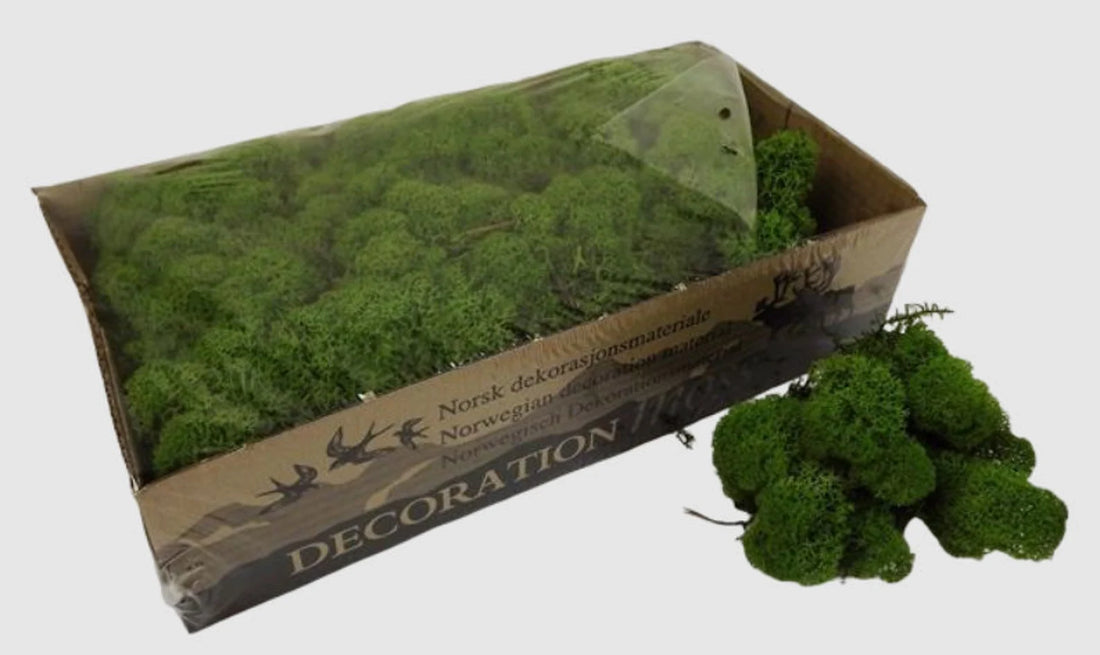
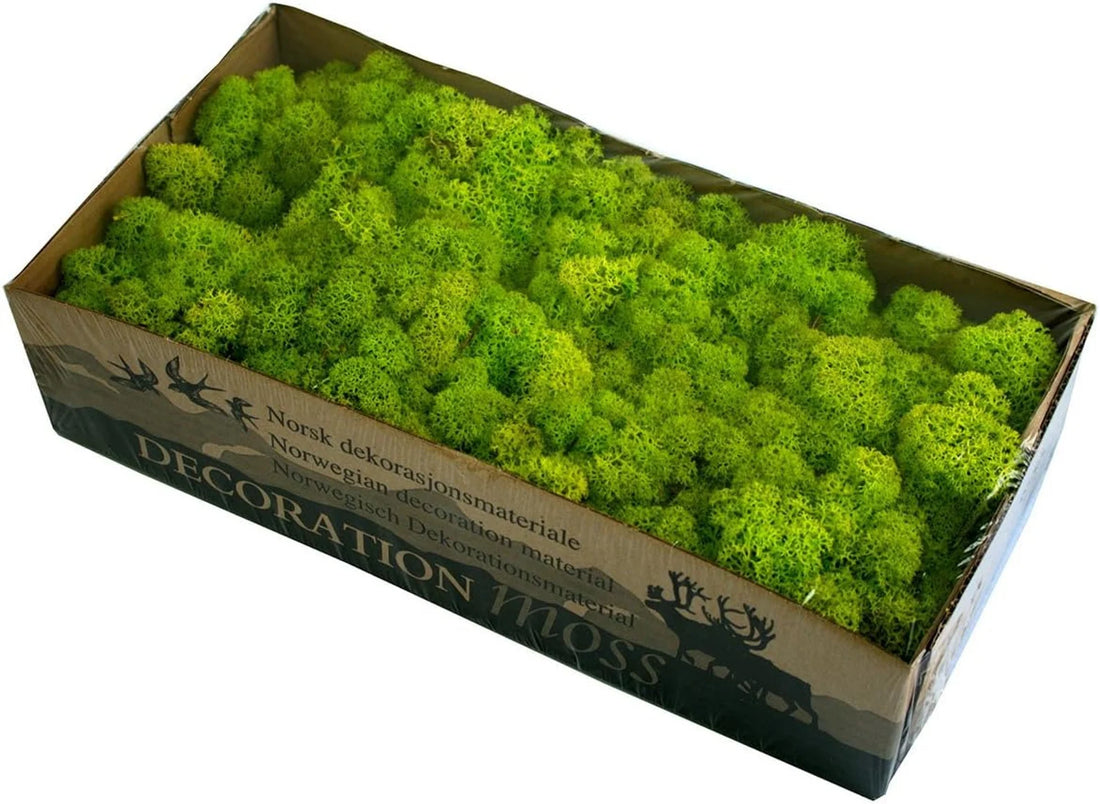
Estimate quantities: Preserved moss is typically sold in 450g boxes. For reference:
- Small project (frame, letters): 1 box
- Medium project (wreath, small wall art): 2-3 boxes
- Large project (table runner, large wall art): 4-6+ boxes
Buy extra: It's better to have leftover moss than run short mid-project. Extra moss can be used for future projects or stored in a cool, dry place.
Prep your workspace: Cover work surfaces with newspaper or craft paper. While preserved moss isn't messy, small pieces may fall off during handling.
Where to Buy Preserved Moss
Quality matters! We've been using premium preserved reindeer moss for almost 10 years in all our professional floristry, scenery, and set design work for clients like Ralph Lauren, Bare Minerals, and BOSS.
Our preserved moss features:
- High quality, tactile texture
- Light, slightly spongy feel
- Vibrant, long-lasting colors
- Available in 30+ shades
- Eco-friendly, non-toxic preservation process
- Professionally graded for consistency
Browse our collection to find the perfect moss colors for your next DIY project. Whether you need spring green for a fresh, vibrant look or sophisticated grey for modern aesthetics, we have the shade to bring your creative vision to life.
Frequently Asked Questions
Q: How long does preserved moss last? A: With proper care (kept dry, away from direct sunlight), preserved moss maintains its color and texture for 5-10+ years.
Q: Is preserved moss safe for children and pets? A: Yes, our preserved moss uses an eco-friendly, non-toxic preservation process. However, it's not edible and should be kept out of reach of very young children and pets who might try to eat it.
Q: Can I use preserved moss in humid rooms like bathrooms? A: While preserved moss can tolerate some humidity, constant high humidity may eventually affect the texture. For bathrooms, ensure good ventilation and avoid direct water exposure.
Q: Does preserved moss attract bugs? A: No! Unlike living moss or dried natural materials, preserved moss won't attract insects or develop mold.
Q: Can preserved moss be dyed or painted? A: While it's possible to paint preserved moss with acrylic paints, we offer 30+ pre-colored shades that eliminate the need for painting. Our preserved moss retains its vibrant color naturally.
Q: What's the difference between preserved reindeer moss and preserved sheet moss? A: Reindeer moss has a fluffy, three-dimensional texture perfect for most craft projects. Sheet (flat) moss has a flatter, more uniform appearance ideal for lining baskets or covering large flat surfaces. Both work beautifully and can be combined for textural variety.
Q: Can I mix preserved moss with fresh flowers? A: Absolutely! Preserved moss looks beautiful in fresh flower arrangements. Just keep the moss areas dry while watering flowers.
Q: How do I store unused preserved moss? A: Store in a cool, dry place in an airtight container or sealed bag to prevent dust accumulation and maintain texture.
Get Creative with Preserved Moss!
These 10 DIY projects are just the beginning of what you can create with preserved moss. The beauty of this versatile material lies in its forgiving nature—it's perfect for beginners yet offers endless possibilities for experienced crafters.
Ready to start your preserved moss project? Browse our collection of premium preserved reindeer moss in 30+ beautiful colors, from vibrant spring greens to sophisticated greys and everything in between.
Need inspiration or custom design services? Our sister company, Ferris Heart Sloane, creates stunning botanical installations and can help bring your vision to life. We've designed for luxury brands and private homes, and we'd love to help you create something special.
Have questions about which moss colors work best for your project? Message us—we're here to help with expert advice, color selection guidance, and quantity recommendations.
Share your creations! We love seeing what our customers create. Tag us on social media with your preserved moss DIY projects for a chance to be featured.